Tired of refilling your chicken water every day? A gravity-fed system keeps water flowing automatically—so your flock always has access to clean, fresh water.
This setup is simple, affordable, and perfect for backyard chickens.
A gravity-fed system uses:
- A raised water container (reservoir)
- Gravity to move water downward
- Nipples or cups, or inline cups that release water on demand
No electricity required
Materials You’ll Need
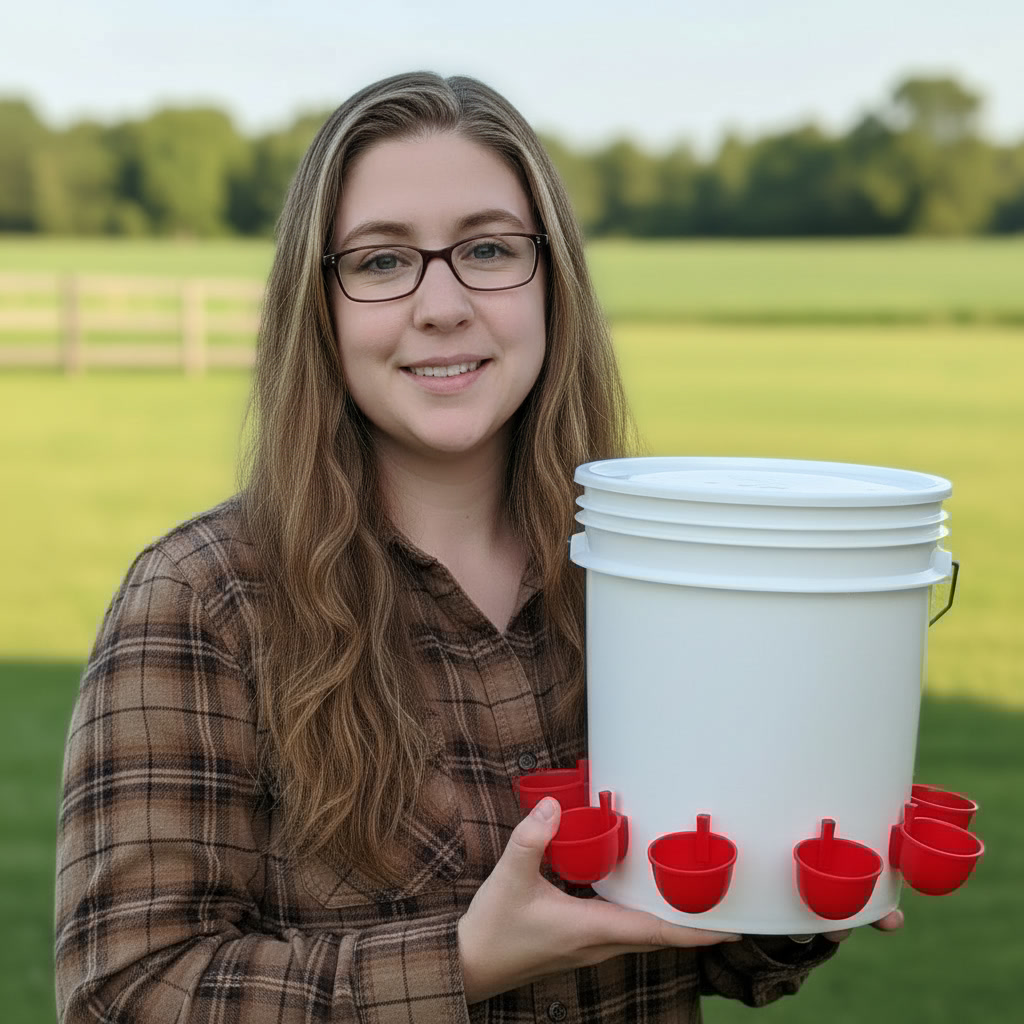
Basic Setup:
- 5-gallon bucket or container (with lid)
- Chicken water nipples or cups, or inline cups
- Food-grade 1/2″ PVC (optional for extended system)
- Drill + correct size bit
- Hose connector or bulkhead fitting
2. How to Build It (Step-by-Step)
Step 1: Prep the Reservoir
- Drill a hole near the bottom of the bucket
- Install a bulkhead fitting or connector
Step 2: Attach Tubing (Optional)
- Connect tubing if you want water away from the bucket
- Keep tubing slightly sloped downward
Step 3: Install Nipples or Cups
- Attach to:
- Bottom of bucket (simple version), OR
- End of tubing (advanced setup)
Step 4: Elevate the Bucket
Gravity does all the work
Step 5: Fill & Test
- Fill bucket
- Check for leaks
- Test each nipple or cup
Winter-Proof Your System
Cold weather can freeze your system fast.
Solutions:
- Use a heated base or bucket heater
- Insulate tubing
- Keep system inside run or coop
Frozen water = no water = serious risk
4. Maintenance Tips
- Clean reservoir weekly
- Flush tubing occasionally
- Check for leaks or clogs
- Refill every few days (not daily!)
⚠️ Common Mistakes
❌ Bucket not elevated high enough
❌ Poor seal → leaks
❌ Tubing not sloped correctly
❌ Using non-food-safe materials
Why This System Is Worth It
✔ Less daily work
✔ Cleaner water
✔ Scales easily for bigger flocks
✔ Affordable DIY setup

Leave a comment